- No Products In The Cart
- start shopping
How to get Waves on your crown? – Mystique Abundance
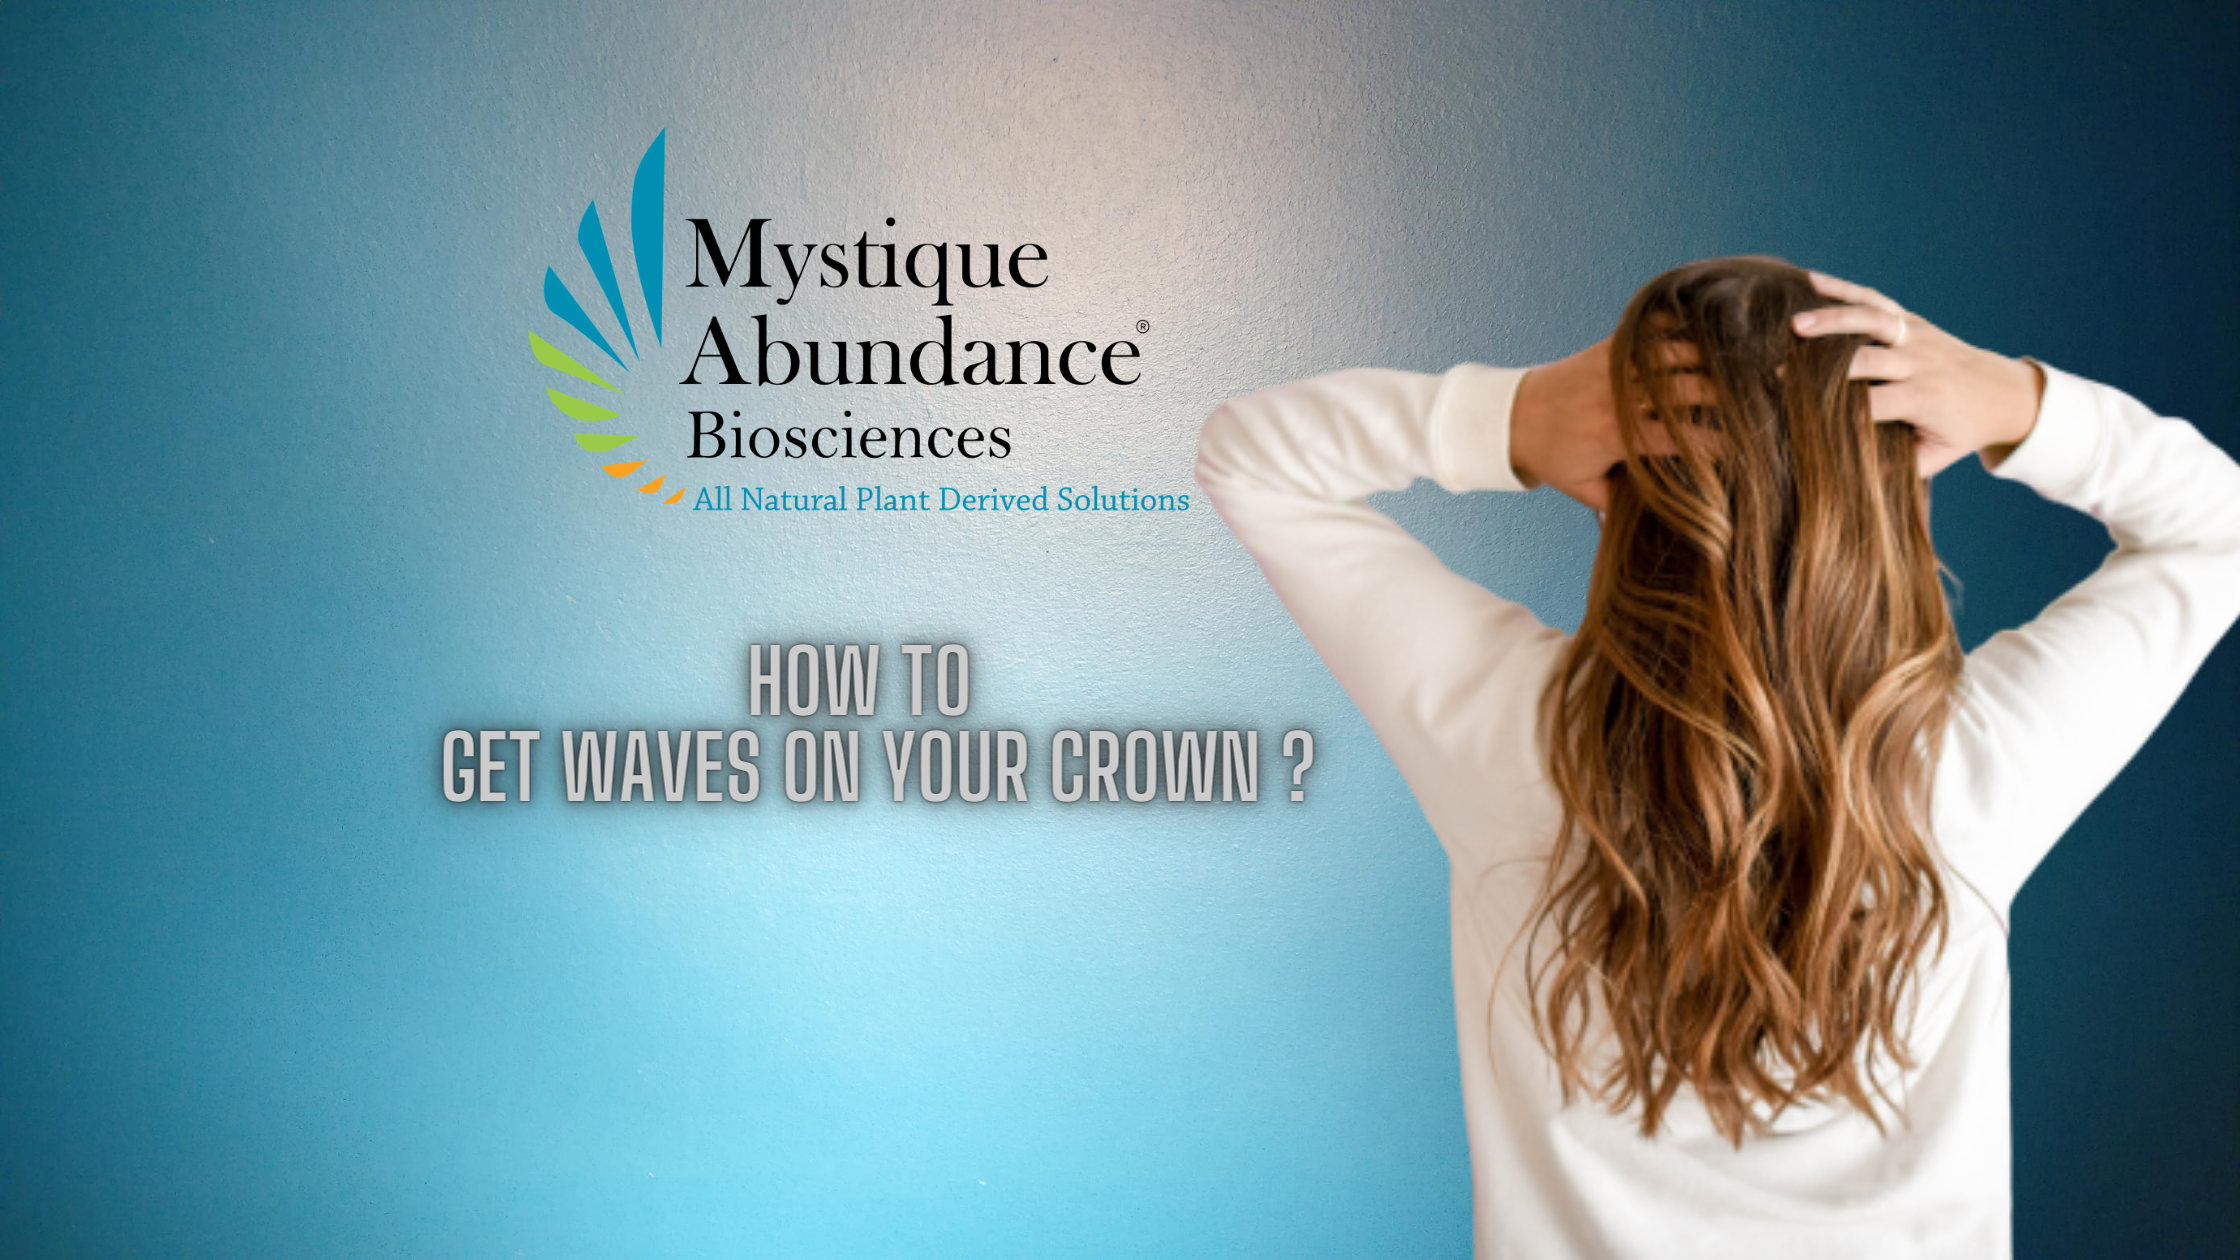
How to create Waves on your crown?
Get waves on your crown can be complicated, and there are many procedures described on the net. However, there are a few easy ways to get waves, let us show you how to execute those. The process detailed here helps get deep 360 waves or 180 waves even with coarse hair.
In this article, we will focus on the following:
What are 360 waves and how to get waves on your crown, how long will it take to get waves that you want, products that can help you get the waves, and the maintenance regimen after the procedure? So let us get started.
What are 360 waves, and how to get waves on your crown?
First of all, it is crucial to understand the 360 waves; this will help you throughout the process.
Our hair consists of natural curls, which may, in some cases, be through the length of the hair. Waves are these same curls that are pulled together, and instead of growing outside, they are laid flat on the head looking like waves.
Let’s get started!
STEP 1: GETTING READY BY PROCESSING HAIR
You need to have healthy hair and take care of your scalp; this is important to simplify getting waves. Hence, the first and essential step is to nourish your scalp and hair with natural nutrients and oils, proper wash with good hair shampoo and conditioner also helps.
STEP 2: DIRECT THE BARBER TO CUT YOUR HAIR PROPERLY!
Step 2 is to inform your barber that you are trying to get 360 waves. You now need a haircut at brushing angles. Inform him not to break these brushing angles because this will slow down your wave process.
Depending on the type of waves you plan to get you need an appropriate haircut, there are different cuts for full 360 waves, or 180 waves. If you opt for the 360 waves, choose a basic hairstyle that’s +/- a half-inch (0.10 cm).
However, if you want 180 waves, you can choose a regular length fade to start.
STEP 3: GET THE RIGHT PRODUCTS NEEDED
At a minimum, you will need the following products:
- A Crown or Long Steele brush – to help brush your hair in the angles, the extended grip provides extra grip while cleaning
- A durag – to keep your hair tied up and flat through the night, and day if required
- Wave Shampoo & Wave Conditioner – make your hair soft and keep your hair and scalp healthy.
- Hair lotion – to hydrate your hair and to prevent your scalp from getting inflamed.
STEP 4: GET READY FOR THE PROCEDURE
Get ready to spend several hours with your brush, caring for your hair. The first part is to train your hair to remain flat on the head; it may be more difficult for the people with coarse hair. So be prepared to spend extra time and effort brushing your hair!
STEP 5: BE AWARE OF THE BRUSHING ANGLES TO FLATTEN THE HAIR
Brushing in angles helps ensure the waves come out healthy and well arranged.
STEP 6: START BRUSHING PROCESS
Now the actual brushing process starts that will need quite a bit of effort! Start with finding a brushing regimen, schedule time in the day to brush for a minimum of 20-30min.
At first, we do not suggest to brush while enjoying TELEVISION or Netflix. It is essential to focus on cleaning angles to ensure the waves are correctly aligned and look good. Also, have a mirror in front of you and watch how you brush to help you keep focus.
STEP 7: USE A WAVE SHAMPOO
Keeping your hair healthy is essential in the process of getting waves. When you take good care of your hair, your waves come out looking more stunning. Thus, it is necessary to have a good hair wash with a natural shampoo and conditioner.
When you shower, your hair is soft and wet, and it is easier to shape it. Therefore, to get better results, brushing in the shower will help.
It would help if you took a” Wave Shower” once a week. Here you shampoo your hair and brush the shampoo out using waves. It will help in the nutrients get to your scalp and hair.
STEP 8: BRUSH SCALP EVENLY AND EQUALLY
Depending on if you desire 360 or 180 waves, you require to brush all over equally.
The beginners notice waves form on the top of your head quickly but not on the sides. This is because we forget to wave the sides of the head. Thus brush your scalp evenly and thoroughly.
STEP 9: HYDRATION
When hair is shaped into waves, it needs a lot of hydration. Thus we recommend using natural oils and creams to hydrate the hair and scalp.
Use oil or lotion, after every shower, or brushing session, or whenever you feel that your hair is dry.
STEP 10: PUTTING ON DURAG
To keep your hair flat, an essential part of getting waves, keep a durag on all the time.
There is only rule to wearing a durag, that is, when you are not brushing, you should be wearing a durag. This will help you get the desired waves much faster.
STEP 11: Visit your BARBER FREQUENTLY and get the needed hair shaping
If you follow the above-detailed process, you will get the waves in no time. In the beginning, you need to avoid visiting the barber as your hair needs to lengthen, grow, and be trained.
However, after a few weeks, once you have the desired waves, you can regularly visit the barber.
STEP 12: READY to showoff!
Before you show off your new hairstyle make sure you keep your hair healthy by cleaning it at least once a week with hair shampoo and conditioner. Brush for as long as needed, or till your hair is contained, and always sleep with a durag to keep your hair flat.
Follow this 360 wave routine that we provided you carefully, and before you understand everything, the girls will be touching your waves and will be trying to brush them for you.